Viewmodels
Facepunch has some free to use viewmodels available in the cloud browser. They’re separated into a weapon model and a hands/arms model.
Create a new prefab for your viewmodel - this is my preferred way to set up viewmodels, as you can easily tweak and test them in the editor before using them in code, adjusting fingers, positions, etc.
Tip: You could have either a Weapon GameResource and put the prefab there to clone it in when equipping, or have a virtual property on the weapon component that spawns the prefab when the weapon is equipped.
1. Prefabs
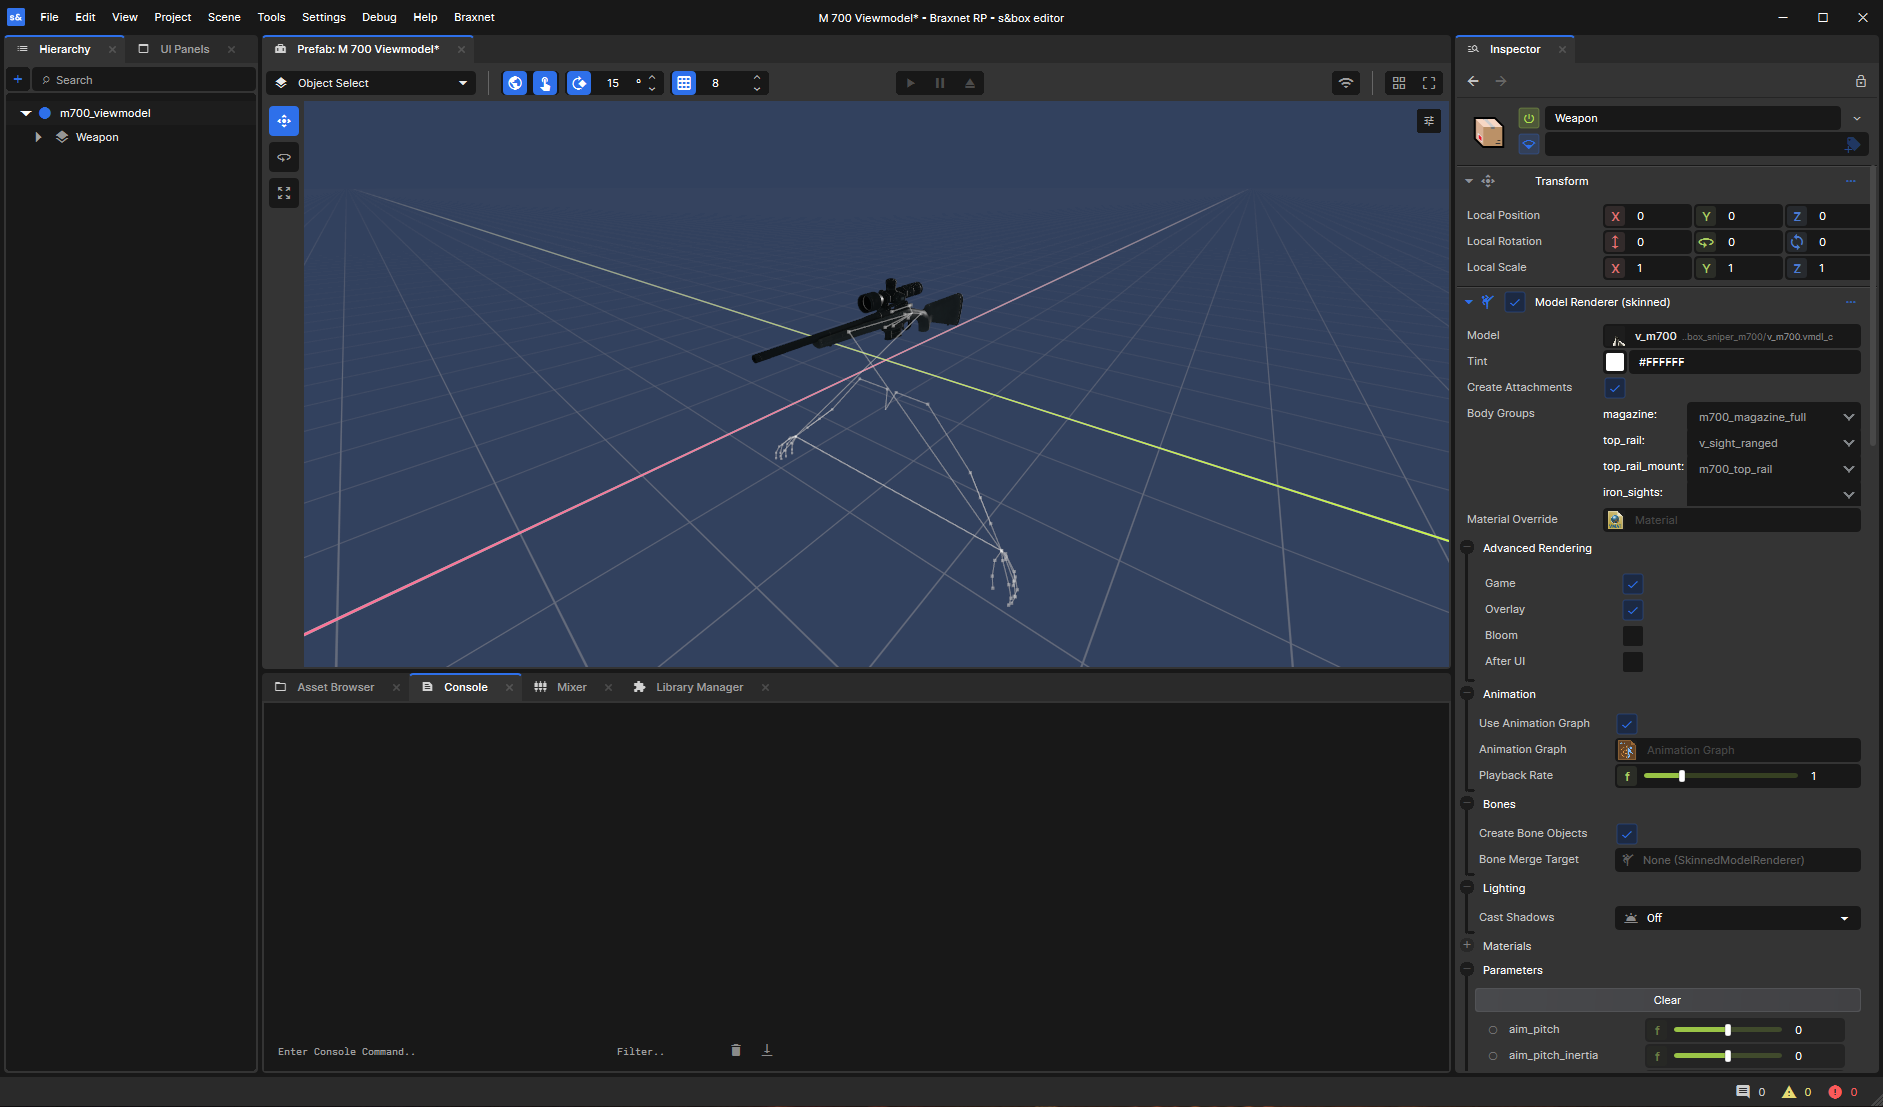
You can start by adding a SkinnedModelRenderer to your viewmodel prefab, and then assigning the weapon model to it. Make sure it’s a viewmodel and not a world model, as the latter has no animations.
Next, you’ll want to add another SkinnedModelRenderer for the hands/arms model. This one can be a separate GameObject next to the weapon GameObject. For this one, you want the facepunch.v_first_person_arms_human model.
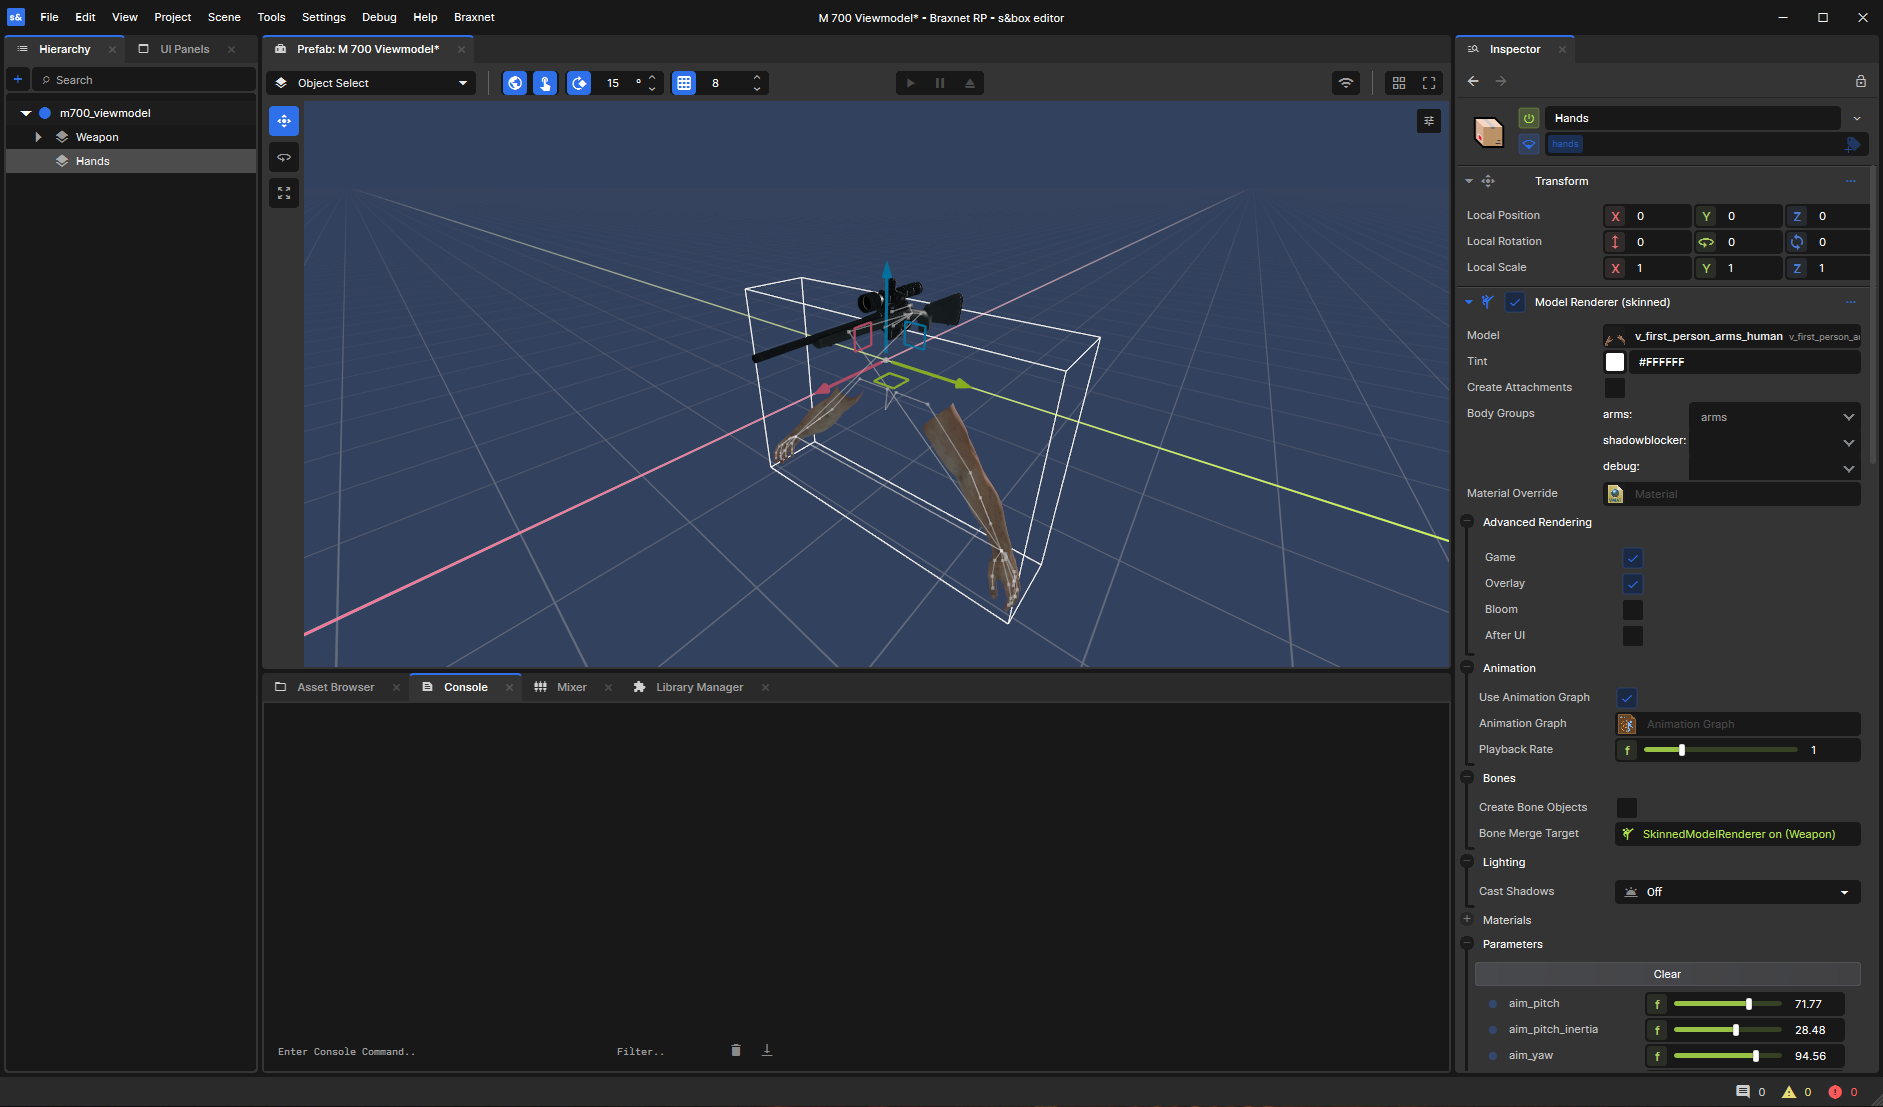
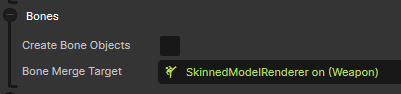
On the SkinnedModelRenderer for the arms, make sure to set the Bone Merge Target to the weapon’s SkinnedModelRenderer. This will ensure that the arms animate correctly with the weapon.
Do NOT bone merge the weapon to the arms - it has to be the other way around. Arms to weapon.
Spawning this prefab as a child of the camera will give you a basic viewmodel setup.
2. Accessing the viewmodel in code
I originally tried to update the viewmodel position in OnUpdate, but this caused jittering. I’m pretty sure this is because the camera position is updated after OnUpdate, so parenting the viewmodel to the camera and resetting its local position works better.
Accessing the SkinnedModelRenderer weapon component in code allows you to play animations on it. You use the Set method with the name of the animation you want to play.
How you want to access the weapon and hands renderers is up to you - you could have a ViewModel “dummy” component that holds references to them like I have:
public class ViewModelComponent : Component
{
    [Property] public SkinnedModelRenderer Weapon { get; set; }
    [Property] public SkinnedModelRenderer Arms { get; set; }
}
Then you can access it and set the parameters like this:
ViewModelGameObject.GetComponent<ViewModelComponent>().Weapon.Set("b_attack", true);
2.5. Accessing the camera
To access the camera in the active scene, you can use Scene.Camera. In most cases, this will be the camera that the player is using, so you can parent your viewmodel to it and set its local position to zero to make it follow the camera.
So with this long one-liner, you can access the viewmodel:
Scene.Camera.GetComponentInChildren<ViewModelComponent>().Weapon.Set("b_attack", true);
In reality though, you would probably want to IsValid-check the camera and the viewmodel component before trying to access them, to avoid potential null reference exceptions.
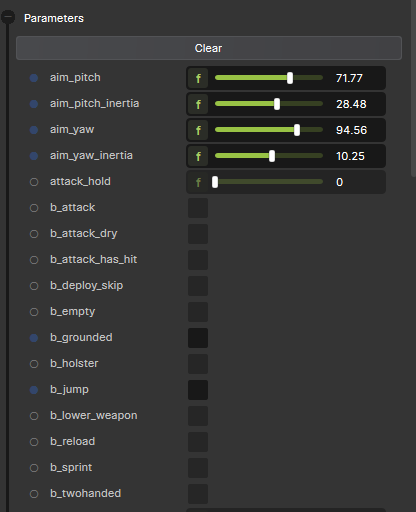
Parameters addendum
The official docs page on viewmodels has more information from here on, like the available parameters. You can also find all the parameters if you open the Parameters group on the SkinnedModelRenderer component in the editor.